Cake Pop Stand Assembly
First, find the support rod. They have a nut and washer pre installed on it and I have wrapped a piece of tape around them to keep them in place. They are at a preset position. DO NOT TAKE THEM OFF.

Remove the tape below the washer. It's just there to keep the washer on for shipping.

Just like the picture above, screw the rod into the base from the top side.

This is the view from the underside. The yellow paint shows the end of the rod you just screwed in. The silver part is the t nut. You want the rod end to be even with the t nut as shown.
YOU MAY NEED TO MOVE THE NUT ON THE ROD UP OR DOWN A LITTLE AT A TIME TO GET THIS RESULT.

MAKING SURE NOT TO TURN THE ROD, tighten just the nut with a wrench, or pliers, one or two turns at the most until it feels secure. It is not necessary to tighten it more than that, and if you do, it may damage the base.
This is where you should be at this point. The support rod is firmly secure in the base.

Locate one of the spacers. The larger hole is a recessed area designed to fit over the nut on the support rod.

Slide the spacer down the rod until it rest on the base as shown above.

Slide the next tier down the rod until it rest on the spacer you just installed.

Now install the next spacer.
Depending on how many tiers you have, you may need to repeat this process
PAY REAL CLOSE ATTENTION TO THE NEXT STEP. IF AN ISSUE IS GOING TO COME UP, THIS IS WHERE IT USUALLY HAPPENS.
INSTALLING THE TOP.
Before we get started putting the top tier on, IF the t nut pops out, don't panic! It is not a failure. It can and does happen. Too much downward pressure from the top, and the rod pushing UP from below can push the tnut out of its hole. Simply take the top tier piece back off and push the t nut back into it's hole. Try to line up the little prongs on the bottom of the t nut with the holes they left in the wood.


Depending on the design, the top tier can be heavy, so try to support its weight from below as you line it up and lower it onto the support rod. Once you are sure it is in the center hole, turn the entire top tier CLOCKWISE until it starts threading it's way onto the rod.
It should thread on very easily. If you meet ANY resistance, back it off and try again.
Continue to turn the top tier until it stops turning freely.
It is normal for the stand to feel a little "loose" at this point.
NOW STOP!
Before you go any further, check the alignment of all the tiers and the spacers to make sure they are straight.
Once you are satisfied everything is aligned correctly, give the top tier a few more turns until the entire stand "stiffens" up.
DO NOT attempt to keep tightening it if still feels wobbly. You will damage it! Continued tightening will pull the t nut completely through the piece, ruining it .
Contact me right away.
Most of the time the rod will be right at the top edge of the t nut or just below.

Install the wood button (IF provided) to hide the t nut. If you never plan on putting a cake on top you can leave it in.

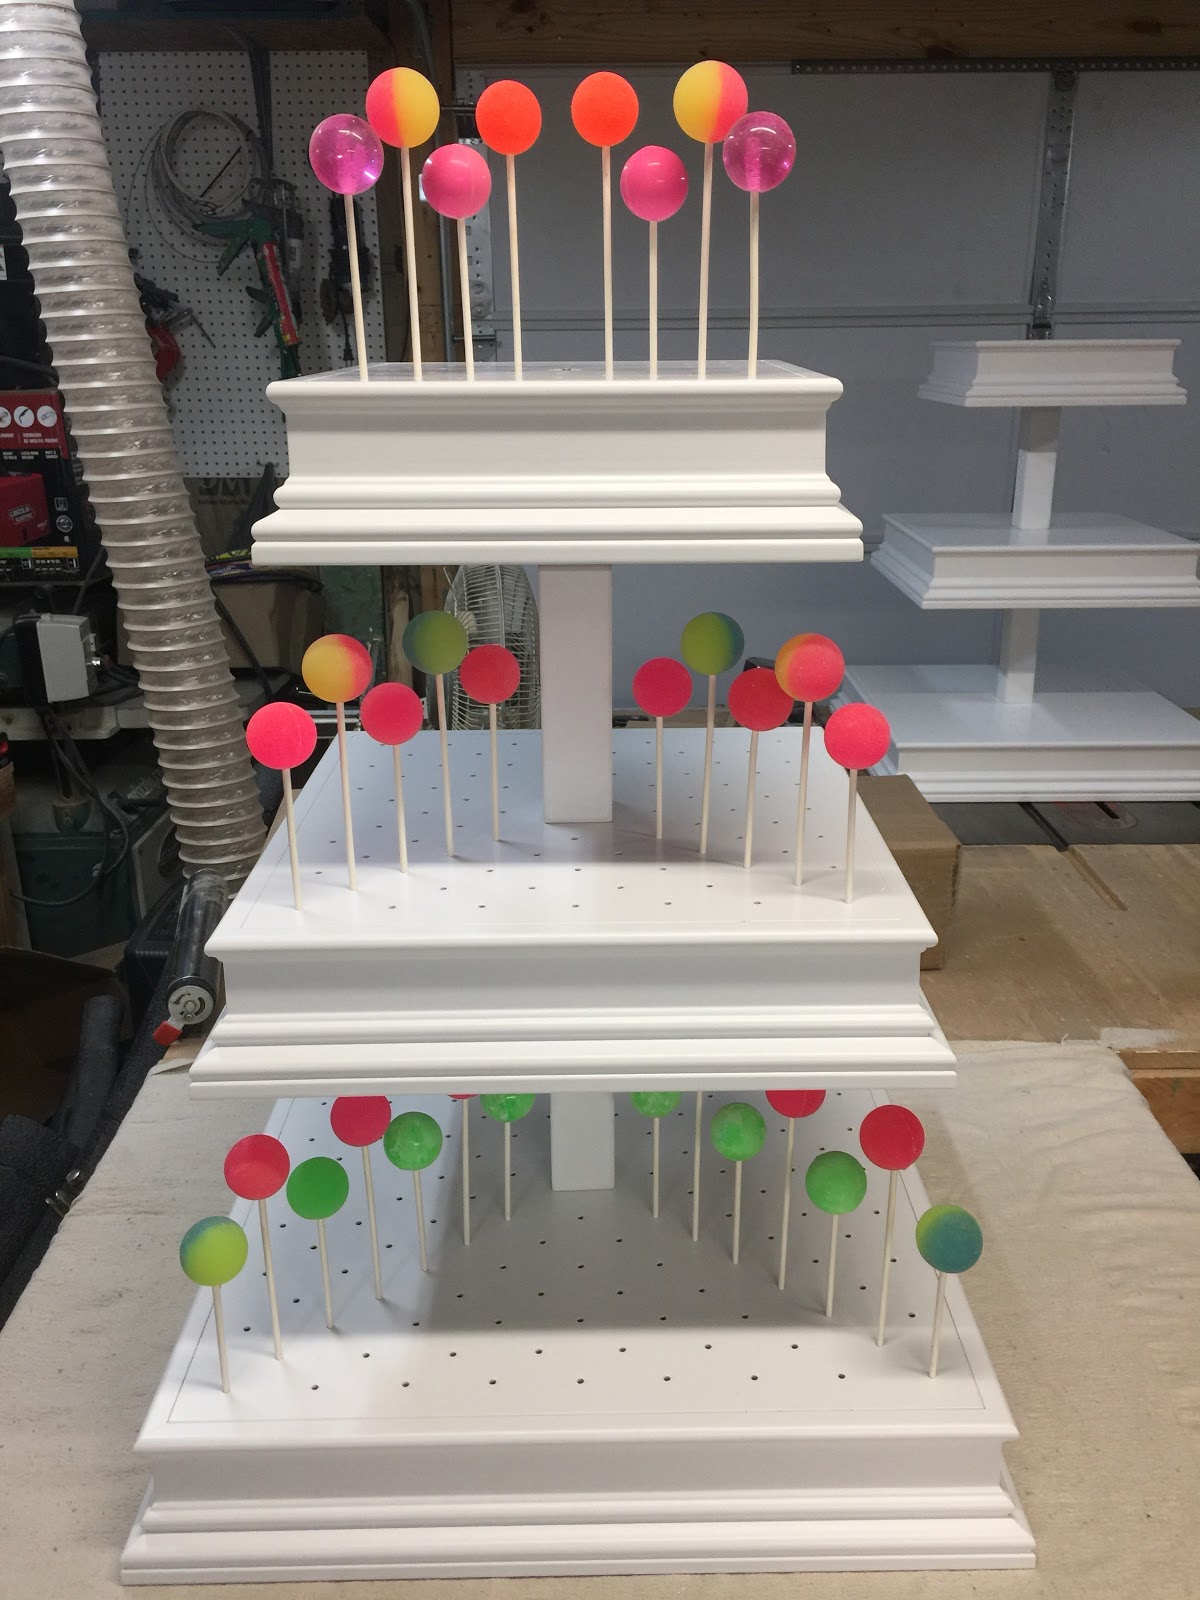
You should now have a successfully
assembled stand.
No comments:
Post a Comment